Your first campaign
Build an audience, write a message, create a one-off email campaign and launch it.
This walkthrough sends one email to a saved audience, once. It uses the simplest campaign type, a One-off batch, so you meet each part of the Campaign workflow without journeys or offers.
Before you start
- Your organisation has the Campaign package. Without it the Campaigns and Message templates screens are not available. Segments are part of every licence.
- You need the
audience_editorrole for segments, thecontent_editorrole for templates and thecampaign_editorrole for campaigns. Acampaign_admincan do all three. Or use another role your administrator has given access to these areas — see Licences and roles. - At least one email provider is set up under Settings → Integrations → Channels. If it is not, ask whoever manages your integrations. In a Sandbox or Development environment sends are built and recorded but nothing reaches real people, which is the safest place to practise.
- A consent purpose for your marketing messages exists, for example
marketing. See consent and purposes.
Activating a campaign needs a standing approval. People with approval rights, such as a campaign_approver or campaign_admin, approve by activating. Everyone else requests approval and waits for an approver. Step 5 explains both paths.
Step 1: Create the audience
- Open Segments in the Engage group and select New segment.
- Choose the Entity type your customers use, for example
customer. - Give the segment a Name, for example
High-Value Customers. Add a Description, a Folder (use/to nest folders) or Tags if your team organises segments that way. - Build the audience in the Filter builder, or describe it in the box under Describe in English, for example
German customers who purchased in the last 30 days, and select Suggest audience. Review the filter it drafts before you trust it; this needs the AI assistants package. - Select Preview sample. The result tells you how many profiles matched and shows a sample, so you can check the audience is the one you meant.
- Select Save segment.
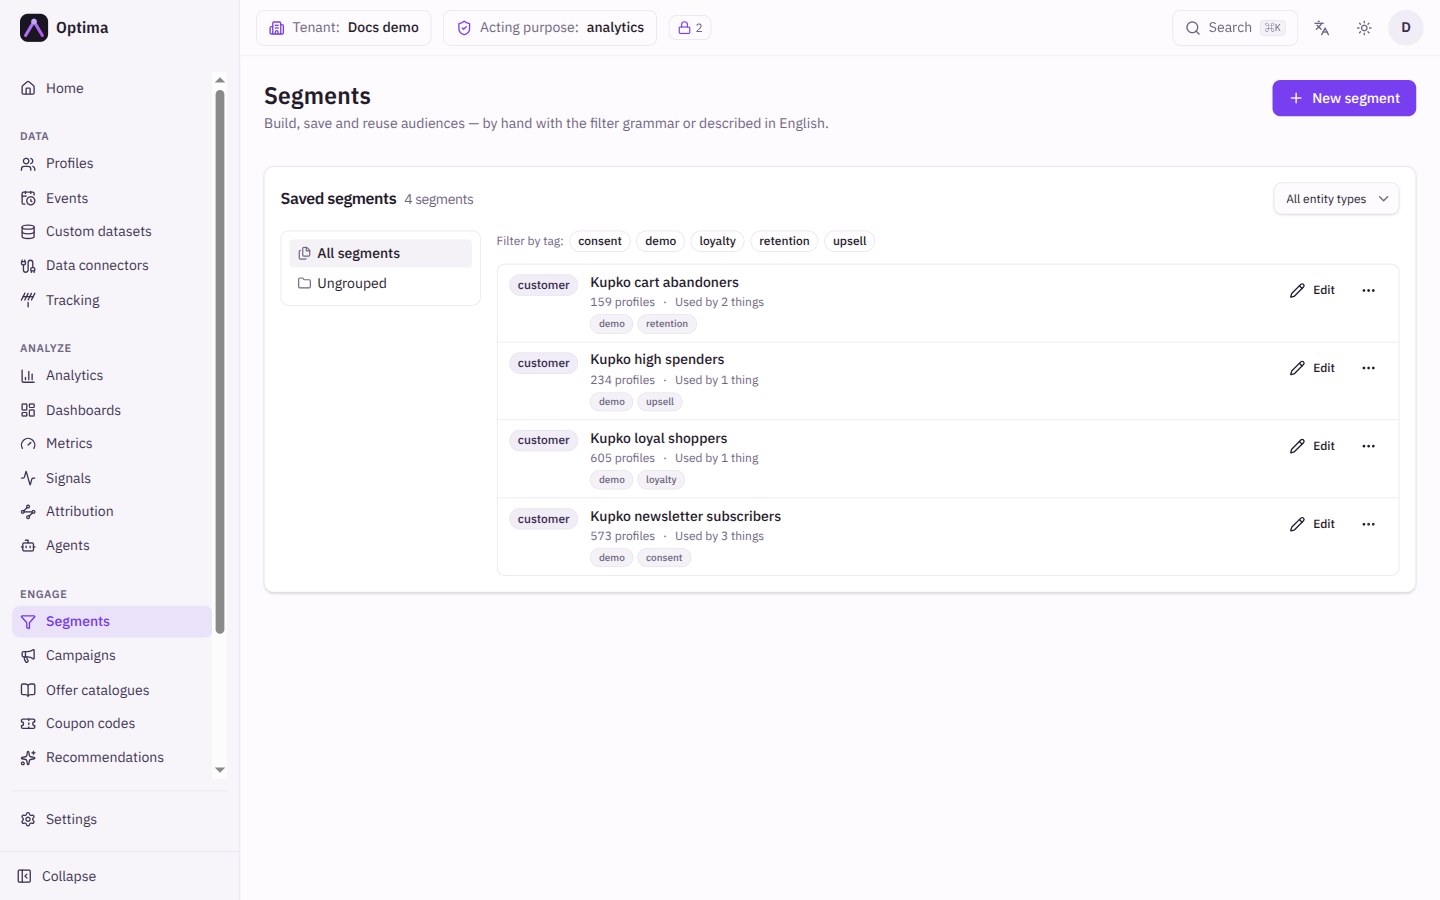
A segment stores the question, not a list of people. Its members are worked out live each time it is used. More in segments, signals and cohorts.
Step 2: Write the message
- Open Templates & content. The first tab is Message templates. Select New template.
- Enter a Name and choose the Entity type. Both are required.
- Under Channel, pick Email.
- Fill in the Subject and a body, either the HTML body or the Text body. Email needs a subject and at least one body. You can also design the email visually with the builder.
- Personalize the text. Use the Personalization button to pick fields from a list, or type them. For example:
Hello {{default "there" .Profile.Attributes.first_name}},This greets the customer by first name, and says "there" when no first name is known. See the personalization reference for everything you can insert. 6. Use Render preview to see the message as a real profile would get it. Enter a Profile ID or use the sample values, then select Render. 7. Select Create.
Include the unsubscribe link in every marketing email. The personalization picker offers it under Unsubscribe links.
Step 3: Create the campaign
- Open Campaigns and select New campaign.
- Enter a Name, for example
summer-upsell. - Leave Type as One-off batch: it sends once to the segment when activated.
- Choose the Entity type. It must match the segment and the template.
- Select Create. You land on the campaign page, where you set up the audience, content and delivery.
Step 4: Set up audience, content and delivery
The campaign page opens on the Setup & delivery tab, which reads Audience → content → delivery. Until everything needed is configured it lists what is Still needed before activation. Work through the three blocks, using each block's Edit button.
| Block | What to set |
|---|---|
| Audience | Choose the Segment you saved. Optionally add Extra conditions; a profile must then match the segment and the conditions. The block shows how many profiles currently match. |
| Content | Choose the Channel, Email, and the Message template you wrote. |
| Delivery | Choose the Consent purpose checked before every send. A batch campaign needs one, or the explicit opt-out No consent gate (explicit opt-out). Optionally set a Frequency cap. |
When the page says Everything needed to activate is configured, you are ready. Before you launch, you can open the Test tab. Who will get this runs every send-time check against your audience now, without sending anything, and What one person would get shows the message one profile would receive and whether it would reach them. (Where your licence includes pre-flight checks.)
Step 5: Activate
- Select Activate. A confirmation shows roughly how many profiles currently match the segment and what activation will do: for a one-off batch, it sends once to the entire segment within about a minute.
- Confirm.
You can select Request approval at any time, before you try to activate. If you do not hold approval rights and have not done so, activation is refused with This campaign needs approval before activation. Select Request approval. An approver sees the campaign under Campaign approvals (or in Needs attention on Home), reviews it and selects Approve or Reject. A rejection must include a reason, which you see on the campaign. Fix the campaign and request again.
Editing what a campaign sends clears its standing approval. This includes the segment, the template and the provider it uses. Request approval again after such an edit, before you reactivate.
Step 6: Watch the result
The campaign now shows the status Active, and later Completed once the one-off send has run. On the Setup & delivery tab, below the setup blocks, the Delivery funnel shows queued, sent, delivered, opened, clicked and failed counts for the window you choose (Window), with a breakdown by channel and by provider. The Measurement tab goes further, with lift against a control group and attribution where your licence includes them.
Messages are delivered only to people whose consent for the chosen purpose is in place when the message is about to go out. People who withdrew in the meantime, or who are held out by a contact policy, are skipped, so the number delivered can be lower than the segment size. Channels and delivery explains what can hold a message back.
What next
- Send to the same audience on a schedule: choose Recurring batch and set a Schedule (cron).
- Chain messages with waits and branches: choose Journey-based.
- Pick the best offer per customer in real time: choose Inbound offer.
- Review how Optima is protecting your customers from over-contact: Channels and delivery.
- Find the pages for your role: Start here.
- Open the screens used here: Campaigns, Segments and Message templates.