Set up your team
Invite colleagues, give them roles, decide which purposes and how much sensitive data they may use, and create API keys for your integrations.
This guide brings people and programs into an environment with exactly the access they need and nothing more. You invite members and give them roles, set the purposes they may act under and their level of sensitive data, and create an API key for each integration.
Before you start
- Managing the team needs the
team_managerrole, and managing API keys needsapi_key_manager. Theadminrole includes both. Or use another role your administrator has given access to these areas — see Licences and roles. Team and API keys are part of the core licence. - Decide who does what before you invite anyone. The built-in roles are named by area and level, such as
campaign_editorordata_viewer. Licences and roles lists them. Give each person the lowest level that lets them do their job. - The consent purposes your colleagues will work under exist. See Privacy.
Step 1: Invite a colleague
- Open Settings → Access → Team and select Invite member.
- Enter the Email address.
- Choose at least one Roles entry. For example, a campaign creator might get
campaign_editorandcontent_editor. - Send the invite. The person receives an email with a link to join the environment, and appears under Pending invites until they accept.
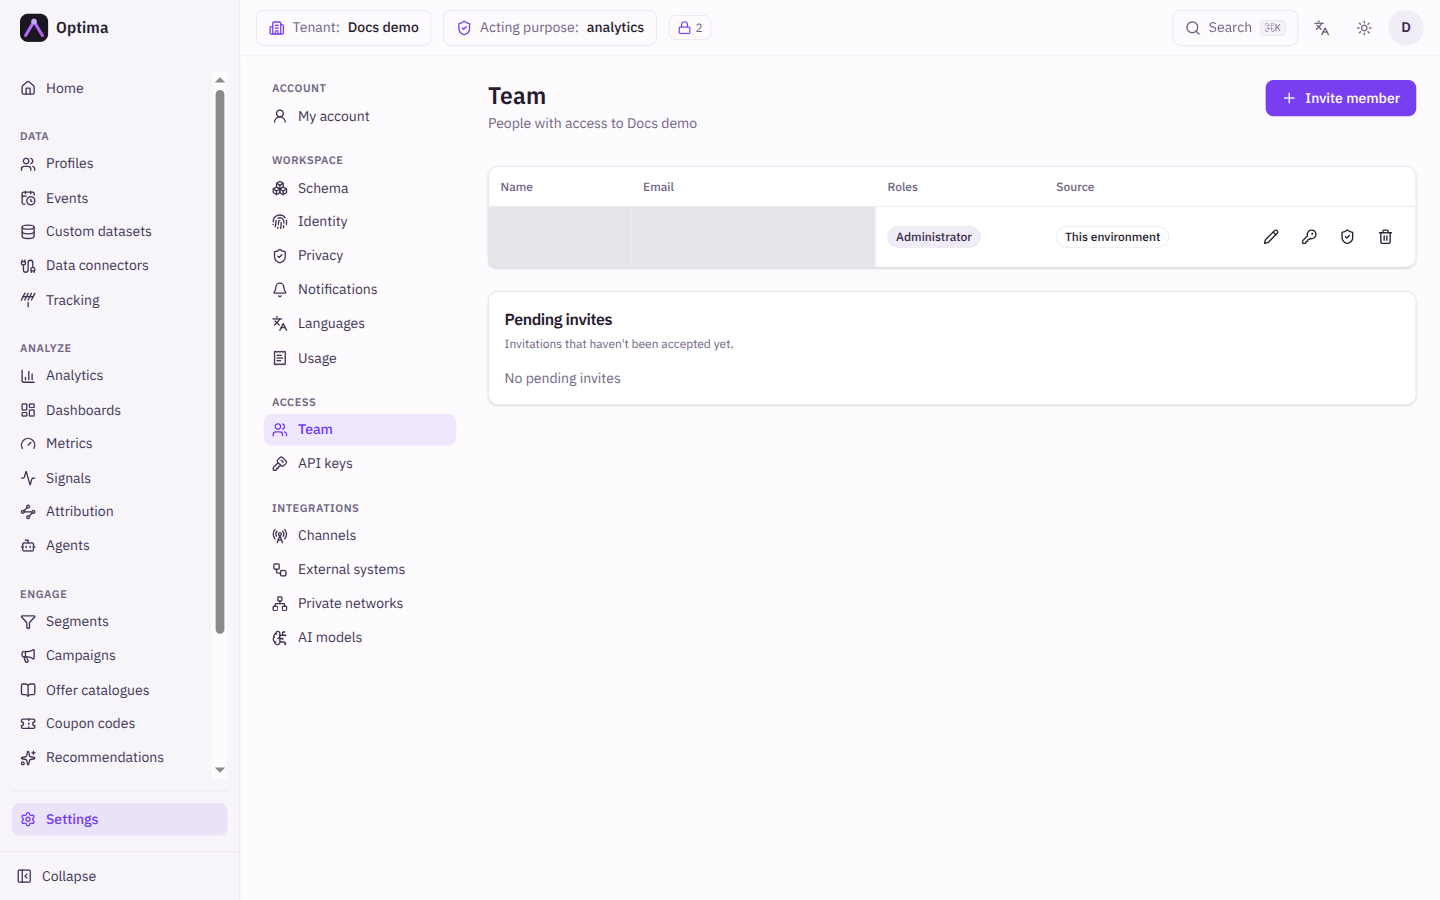
If the invite email never arrives, check the address, select Revoke invite, and invite again.
Step 2: Adjust roles
After someone has joined, you can change what they may do at any time.
- On their row select Edit roles and tick or untick roles. At least one must remain. Use Remove from team instead if they should lose access altogether.
- The Source column tells you where roles come from. Account-wide roles come from an account administrator and must be changed there. Editing roles here for such a person replaces them with explicit roles for this environment, and the dialog asks you to confirm.
If no built-in role fits, an account administrator can define a custom one under Settings → Access → Roles. See Roles.
Step 3: Set purposes and the sensitive data level
Roles decide which screens and actions a person has. Two more settings decide which customer data they see.
- On the person's row select Purpose grants and tick the consent purposes they may act under, for example
marketingfor a campaign manager. A purpose grant is what lets them read data collected for that purpose. - Select PII level and set the highest level of sensitive attribute they may see. A low number withholds sensitive identifiers.
Both are disabled, with an explanation, until the person has signed in and created their account. Come back to this step after they accept. For the idea behind purposes and levels, see Consent and purposes.
Step 4: Create an API key for an integration
An API key is for a program, such as an import script or a website back end, not a person. Create one key per integration so you can cut it off on its own.
- Open Settings → Access → API keys and select New API key.
- Enter an Application name that says what the key is for, for example
crm-import, and a Description. - Select Create. The key is shown once in a dialog. Copy it now into your secret manager. It cannot be shown again.
- Open the key's More actions menu and choose Roles. Tick only the roles the integration needs, for example
data_editorfor an import. - Choose Purpose grants and tick the purposes the integration works under.
- Choose Set PII level and set the lowest level that still works.
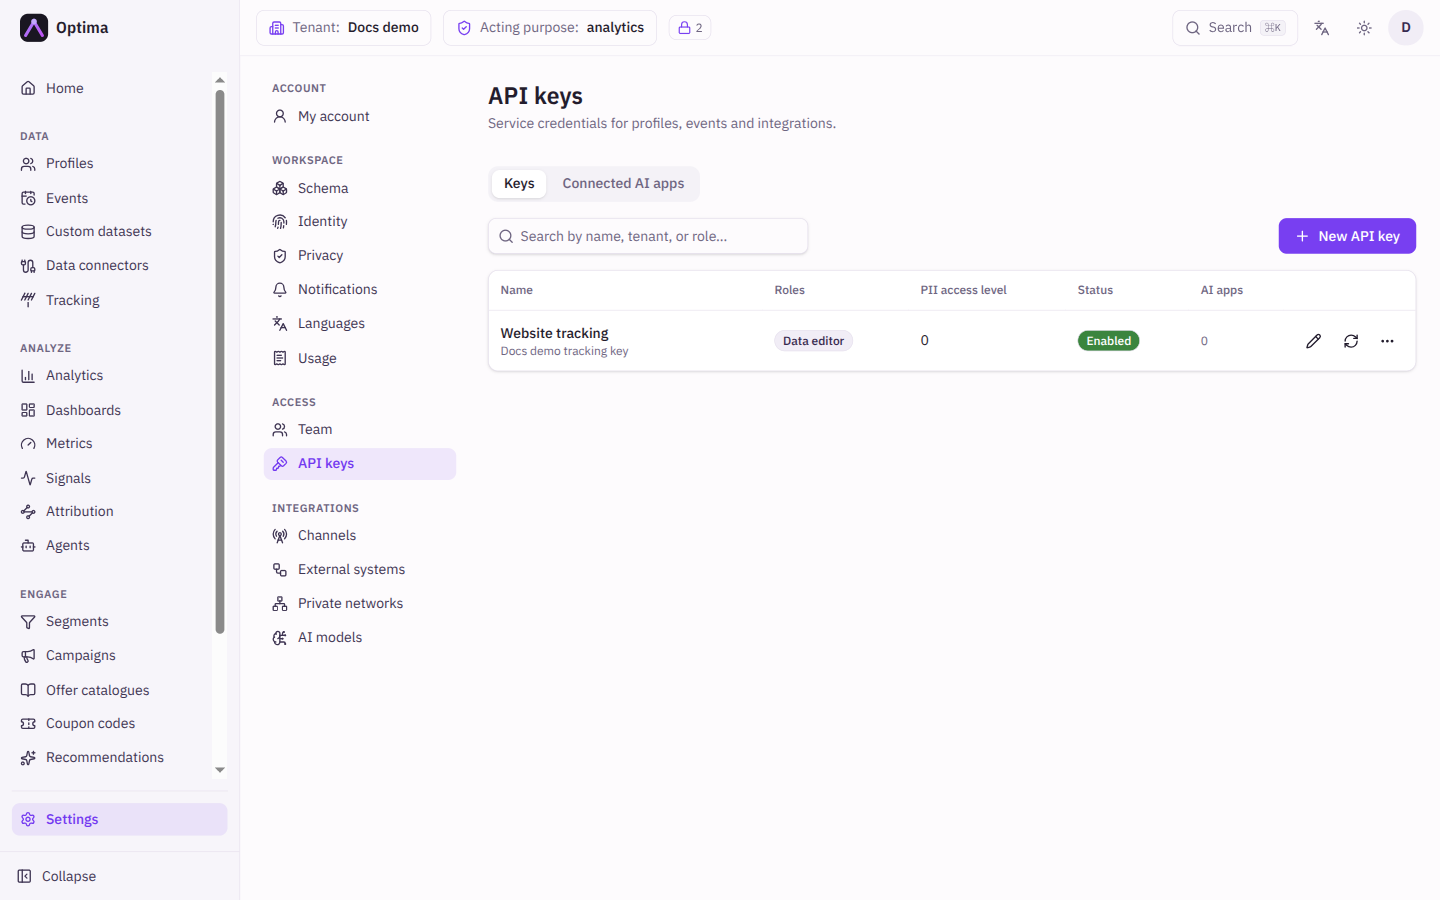
A new key has no roles until you add them, so it can do nothing until step 4. See API keys.
Step 5: Know how to take access away
- A person leaves. Select Remove from team. Their user account is not deleted, but this environment is closed to them.
- A key may have leaked. Select Rotate key and tick Revoke the previous key immediately. Every client still using the old key fails at once. Update them with the new key. Or Delete the key if the integration is gone.
- A routine rotation. Select Rotate key and leave the previous key running for the grace period, 24 hours by default, so clients can switch. Revoke previous key now ends the grace period early.
Check that it worked
- Ask the new colleague to sign in. They should see only the areas their roles cover. A screen they cannot reach is missing from their navigation, and a button they may not use is disabled.
- On Settings → Workspace → Privacy, open Access levels. Every member and key is listed with its PII access level.
- Use the key from your integration. A request that fails with a permission error is missing a role or a purpose grant.
Common problems
- I cannot invite anyone. You lack
team_manager. - A colleague sees too little data. Their purpose grants or PII level are too restrictive. Review step 3.
- A person's roles cannot be removed. Their access comes from an account-wide role. Change it at account level.
- I lost the key. It cannot be shown again. Rotate the key and update the client.
Next steps
- Connect an AI assistant with its own key: Connect an AI assistant.
- Review who read personal data: the Audit log on Privacy.
- Team lists the account administrator view for several environments.