Collect sign-ups with double opt-in
Create a newsletter sign-up form with a hosted page, require the visitor to confirm by email, and check that consent is recorded.
This guide builds a newsletter sign-up form that Optima hosts on its own page. A visitor enters an email address and ticks a consent box; Optima emails a confirmation link, and the consent is granted only when the visitor clicks it.
Before you start
- You need
content_editorto build and publish forms,integration_editorfor Tracking and Notifications, andprivacy_officerfor purposes and policies, or another role your administrator has given access to these areas — see Licences and roles. - Forms need the landing pages feature of the Digital package. They appear under On-site in the navigation.
- Tracking is set up: a web tracking entity, an active web SDK key and a Public base URL. Follow Track your website if not.
- Your schema has an event type
form_submittedwith a text attributeform_id. Optima fills it on every submission, and saving a form is refused without it. Add it under Settings → Workspace → Schema. - The tracking entity has an identifier
email.
Step 1: Create the purpose and the policy
Double opt-in only works for purposes whose lawful basis is Consent.
- Open Settings → Workspace → Privacy. On Consent purposes select New purpose. Set Purpose name
newsletter, Lawful basis Consent and Active on. Save. - On Consent policies select New policy version. Enter a Key such as
newsletter-signup, Version1, the exact Consent text the visitor will see, and tick thenewsletterpurpose under Purposes. Save. Versions cannot be edited later; new wording is a new version.
See Privacy and Consent and purposes.
Step 2: Prepare the confirmation email
The confirmation message is a notification template, found under Settings → Workspace → Notifications. A template name only means something when something uses it, so the name picker lists only names that already have a consumer. For a custom confirmation template you first create a subscription with a custom event name.
- On Subscriptions select New subscription. Choose Receiver User, Channel Email, pick yourself as the receiver, and type the custom Event type
newsletter.confirm. Turn Enabled off, because nothing should be sent for this event. Save. - On Templates select New template and choose
newsletter.confirmas the Template name. - Enter a Subject template, for example
Please confirm your subscription. Choose Body format HTML or Plain text and write the message. The confirmation address is available as{{.confirm_url}}, the form name as{{.form_name}}.
<p>Thanks for signing up to {{.form_name}}.</p>
<p><a href="{{.confirm_url}}">Confirm my subscription</a></p>- Select Preview to check how it reads, then save.
See Notifications.
Step 3: Build the form
- Open On-site and then the Forms tab, and select New form.
- Enter a Name, for example
Newsletter, and a Slug, for examplenewsletter. The slug becomes part of the page address and must be unique. - Choose the Tracking entity, the web tracking entity such as
visitor. - Under Consent purposes choose
newsletter, then the Consent policynewsletter-signupand its Policy version. Under Collection purposes choose the purposes stamped on what the form stores. - Tick Double opt-in. Set Confirmation identifier to
emailand Confirmation template tonewsletter.confirm. - Add the fields with Add field:
- Target kind Identifier, Target
email, Input type Email, LabelYour email, Required on. - Target kind Consent, Target
newsletter, Input type Checkbox, LabelSend me the newsletter.
- Target kind Identifier, Target
- Optionally set a Page title, a Success message such as "Check your inbox to confirm." and a Success redirect URL.
- Use Live preview to see the form as a visitor does, then select Create.
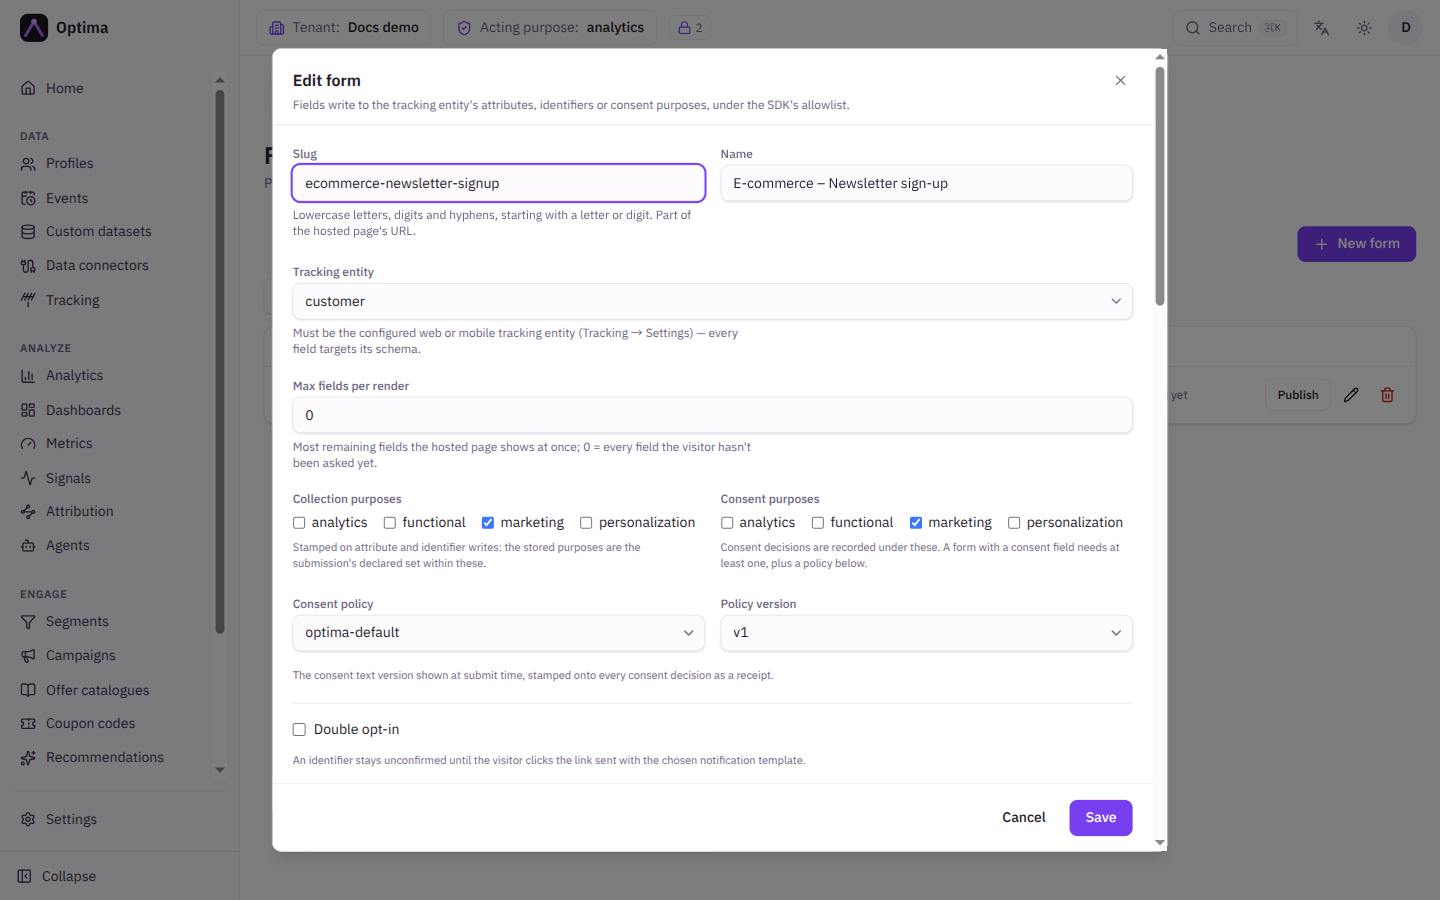
Every field is described on Forms.
Step 4: Publish and open the page
- In the list select Publish on the form's row. Not published yet in the Page column turns into a link.
- Select Open page to open the hosted page.
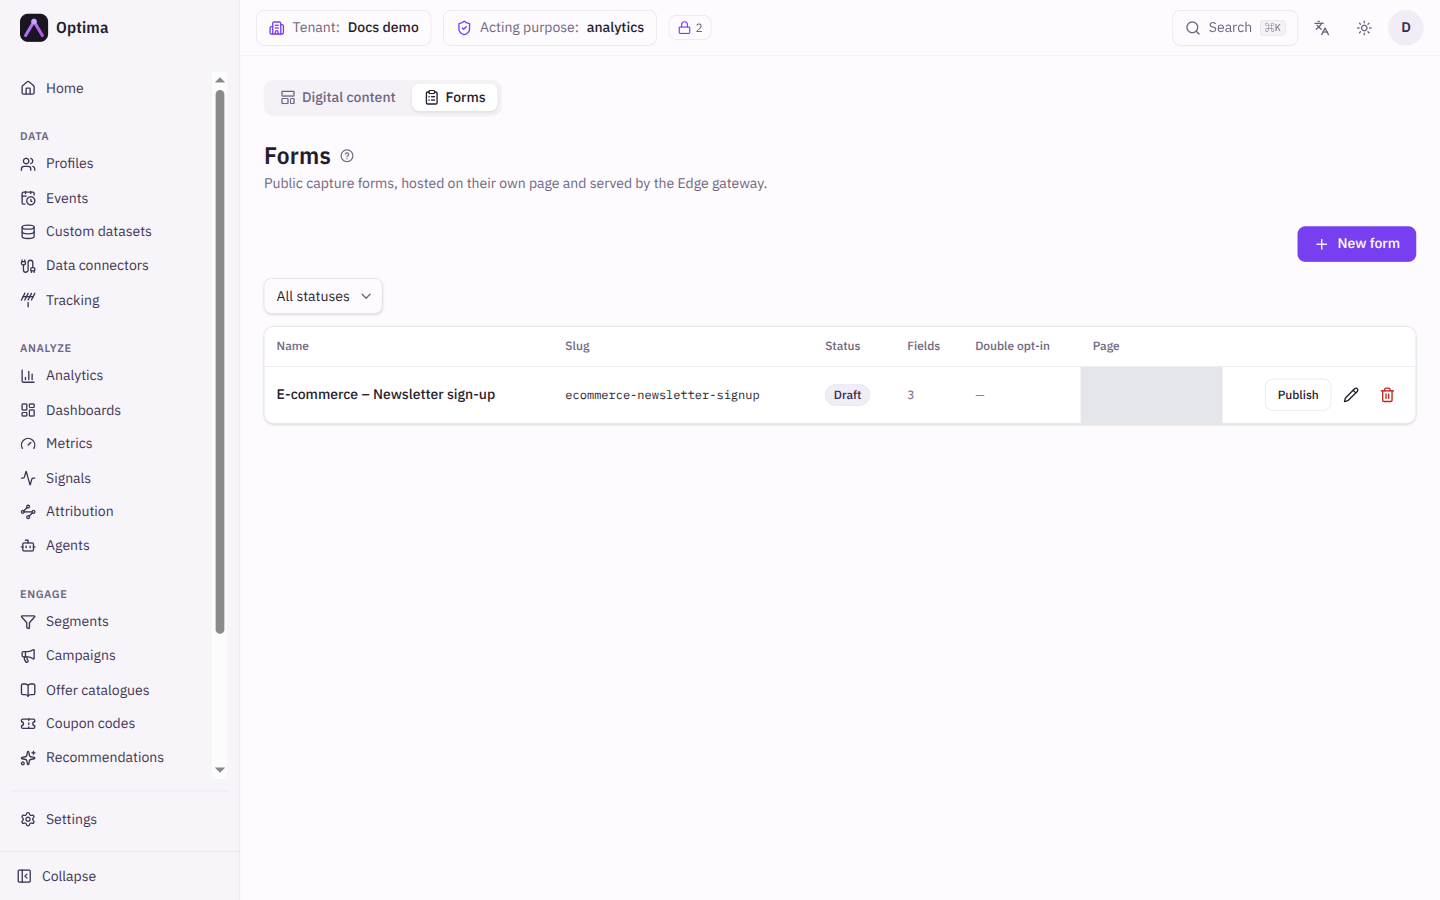
Link to the page from your site or emails. The Web SDK can also draw the form inside your own page; see the Web SDK guide.
Step 5: Check the full loop
- On the hosted page enter a test email address, tick the box and submit. You see the success message.
- Open the inbox. The confirmation email arrives. Do not click yet.
- In the console open Profiles, look up the address with By identifier (
email), and open the profile. On Consent & Privacy thenewsletterrow reads Withdrawn with Sourceform_pending. - Click the link in the email.
- Reload the profile. The
newsletterrow now reads Granted with Sourceformand a fresh receipt. The Receipt column shows only a short id; open Consent receipts to see the evidence, with the channel and the policy version.
If the visitor never clicks, the consent is never granted, and the campaigns that need it skip them. A link works only for the submission that sent it.
Common problems
- The form cannot be saved: it needs an event type. Add
form_submittedwith aform_idattribute, then save again. - The form cannot be saved with double opt-in. Every purpose in Consent purposes must have the lawful basis Consent, and double opt-in needs an identifier field and a Confirmation template.
- The template name is not offered. Create the subscription for that event name first (step 2).
- The page says Not published yet. Publish the form, set the Public base URL under Tracking, and make sure an active web SDK key exists.
- The confirmation email never arrives. Check the Confirmation template and the Confirmation identifier, and the spam folder. The same address gets at most one confirmation email per form every 10 minutes. The email channel must be set up for your environment.
- Submissions are rejected. The submit came back faster than Minimum submit interval (seconds), a hidden bot field was filled, the field is outside the allowlist, or a Required field was left empty or a required checkbox was not ticked.
Next steps
- Ask a returning visitor only what you do not yet know: set Ask once on fields and Max fields per render on the form.
- Send to everyone who confirmed: build a segment from the
newsletterconsent and use it in a campaign. - Privacy officers: review the evidence stored with each consent in Profile detail.